Further to my initial post on OneDrive, this One Way To Set Access in OneDrive is the best way to do it. To be honest, there really is no other way. Hopefully this article will show you how to do it in as few mouse clicks as possible. So without further adieu, let’s get to it!
Accessing OneDrive Online
The quickest way to access OneDrive is by using the online version. For access this way, go to Office.com with your favorite web browser. Once you get to your portal screen, click the menu icon in the top left and choose OneDrive:

You will be brought to your “My Files” page:

From here, you can create files and folders for use and sharing. You will need to use the online version of Office Apps to edit documents.
Accessing OneDrive Locally
This way may be your preferred method if you plan on sharing a lot of documents or folders and you are more comfortable in local versions of Office. You must use the local version of Office to create and save files to OneDrive this way. Or at least know how to switch back and forth between versions.
OneDrive is more than likely installed on your machine. If not, it can be quickly installed by going to https://www.microsoft.com/en-ca/microsoft-365/onedrive/download . If you must install it, login with your credentials and you will be ready to start using OneDrive.
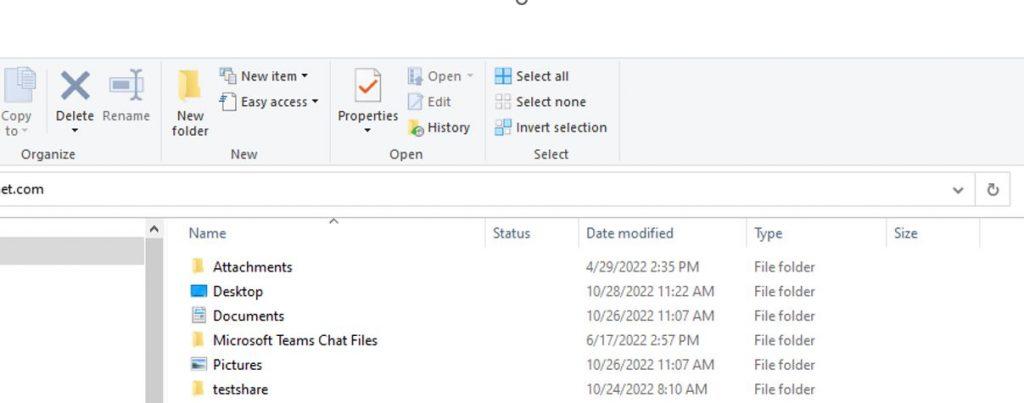
Double Click the Blue OneDrive Icon beside the system clock in your task tray and it will bring up your OneDrive folder):


When creating a document with a local Office App, when you click save, it will ask you where you want to save the file. Choose more options and then choose your OneDrive:


Then pick any folder that you want to save the file into or even create a new folder.
Setting File Access in OneDrive
This can be done online only. If you are using the local version of OneDrive you can get to the online version easily by clicking on the blue OneDrive Icon beside the system clock in your task tray and it will bring up your OneDrive folder and choosing “View Online”:


From here you can set sharing permissions on files and folders within OneDrive.
If you are only using the online version of OneDrive you already able to set up permissions.
Setting Permissions
If you are collaborating with others, Use “Can Edit” permissions on the share. Use “View-Only “permissions if you would like users to only view and not edit the contents of the documents are sharing. Alternatively, you can prohibit downloading and print of the document or folder content when in “View-Only” by blocking downloads.
Highlight the File / Folder you wish to share as read-only and click the dots (…) beside it. Chose “Share”:

Next, we will set up who will have access, what kind of access (read-only in this case) and whether to block downloading or printing. Clicking on “Anyone with link can edit” will expand the sharing menu to show all options:

Becomes,

If you choose “Anyone with the link” as an option, the Other Settings you can pick are the following:
- Read-only or Edit
- The date the link expires
- Setting a password for the link
- Block Download – This prevents downloading or printing. It is ONLY available when access is set to READ-ONLY
For sharing with People within your organization or Specific People (Outside the organization), People with existing access or Specific people, it is almost identical except you will not be able to set an expiry date on the link or set a password. In Other Settings, you can do the following:
- Read-only or Edit
- Block Download – This prevents downloading or printing. It is ONLY available when access is set to READ-ONLY
Sending the Link
Click “Apply” and then you are presented with the next Window that allows you to send the link. You can do these one of two ways. You can provide email addresses in the address field and then click send. The email address is searched from the directory and your contacts. Email addresses that are not in those sources must be fully typed in (i.e. [email protected]). Or you can copy the link by clicking copy and pasting it into an email that have already created and send it that way.
i.e.

Disclaimers of OneDrive
As far as storage in the local desktop method, the files will be stored on the local computer and synchronized to the Cloud and the Cloud only when using the online version.
Items sent to the OneDrive Recycle bin can be restored. However, if they have been sitting in the recycle bin for more than 93 days they will be permanently deleted.
There is no back up of OneDrive. So please be aware of this. There are many third party companies that can help with this.
Hopefully this helps with the One Way To Set Access in OneDrive!
Happy IT’ing
Dan
